


Of course, I always recommend people to keep the System Integrity Protection (SIP) enabled to prevent causing some unnecessary damage to your system, by unintentionally moving or deleting files. There are many files which are owned by your system and their presence are necessary for the. functionality of your MacOS version. That includes system files, databases etc.
If you end up disabling SIP, we highly recommend you know what you are doing and to re-enable once you finish with your duty. We will show you how to re-enable them during the following guideline.
The following guide is almost certain to work on any MacOS version installed on your computer. If you are having difficulties following our guide, be free to let us know by leaving a comment below the article!
How to Disable (and Re-enable) System Integrity Protection (SIP) on Mac easily?
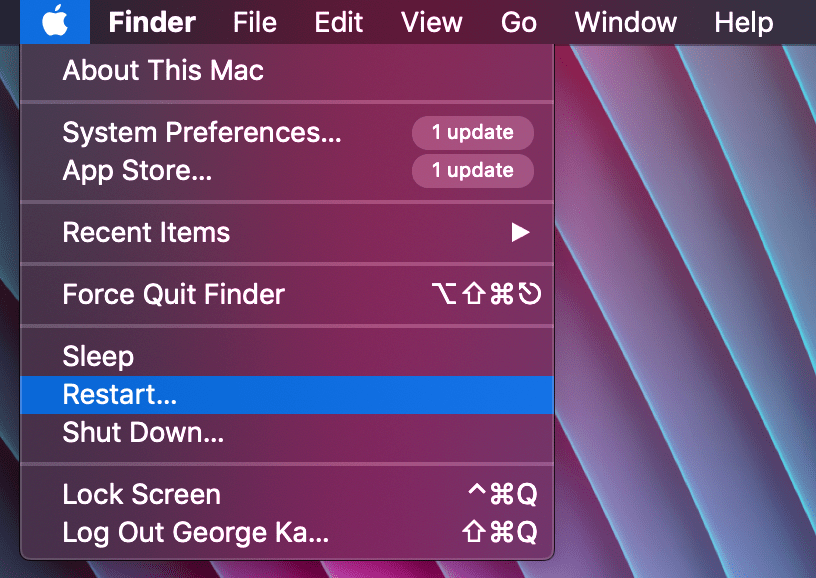
Restart your Mac and hold down command and R key from your keyboard while your mac reboots. You may need to select a Network to continue. If you do, then select your WIFI network and you may release the keys.
You may release the buttons as soon as you see the Recovery loading screen.

You should now enter the Recovery Menu. You may use the recovery menu in case something happens with your Mac, or to re-install your current MacOS version.

In this case, we are interested in disabling SIP. For this we need to use terminal. For this navigate to Utilities from the tool bar on the top and select Terminal.

Then in the Terminal window, type the following command csrutil disable and hit the enter key to disable it. If you are wondering how you can re-enable SIP, type csrutil enable and hit the enter key again to enable it.

Once you are done, you may reboot your system.
And that's it! Now you know how to disable and enable system integrity. Once you finish with your duty, I highly recommend you to re-follow this guide to enable it again to prevent any possible mistakes.
Now it's your turn! Why did you need to disable System Integrity Protection? Please, let us know down in the comments!

Bestellen:
Weergeven: