Are you looking to create a bootable installer media? Or perhaps you would like to edit a current ISO file and you are looking for ways to recreate it?
Regardless, creating an ISO file on a Mac is free, and doesn't require a 3rd party software to get it done. In this article, I am going to show you step by step how to create an ISO image file without using an external software!
What do I need to make an ISO image file?
- Your Mac computer
- All your files you want the ISO file to include in a folder.
- Some available free space. For guidance on how to free up space on your Mac, check our here.
How to create an ISO file on Mac?
Basically, you are not technically creating an ISO file, you are converting a folder to ISO instead. If you try to extract an ISO file, you will see all its contents in it.
How to extract ISO?
- Right click on the ISO file.
- Open it with DiskImageMounter.
Now you should see the contents of the ISO file. Please, keep in mind that you can't insert new files or documents into it. You will have to recreate it.
For this purpose of the article, I have also created a video which shows you the steps live in case you are stuck at any point of this article.
Move all of your files into a folder
- Create a new folder and give it a name (avoid spaces).
- Drag all the necessary files you need the final ISO file to have.
- Keep the folder in a location you will remember. In my case, I will keep it on the Desktop.
Once that's done, we are going to convert the folder into a .cdr file.
What is a .cdr file?
A cdr file is a vector graphics file which stores an encoded digital image. CDR files can be manipulated by using a speciallized vector editing program such as CorelDRAW. CDR files are used to create files such as letters, brochures, tabloids, envelopes, postcards, webpages, and web banners.
This may sound unhelpful, but we only need the CDR file, as it's an easier way to convert it into an ISO file. Unfortunately MacOS doesn't offer us a one-way method to go from a folder to ISO, but, folder to CDR, then CDR to ISO. Let's have a look on how to convert the folder into a CDR file.
How to convert a folder to CDR?
- Go to Finder, then Applications > Utilities and then open Disk Utility.
- From Disk Utility, click on File on the top and then New Image > Image from Folder... .
- Drag and drop the folder you created earlier into the window box then click on Choose.
- Under Image Format, select DVD/CD Master and ensure you are saving it on Desktop.
- Click on Save.

This will take a few minutes to finish. If you have added lots of files into the folder, then it may take slightly longer. Keep in mind that the folder itself won't be replaced, but a new file with the same title you gave to the folder will appear in your Desktop with the .cdr extention.
Given we have the CDR file now, we are ready to take it and convert it into the final format we are looking for, the ISO file.
How to convert a CDR to ISO file?
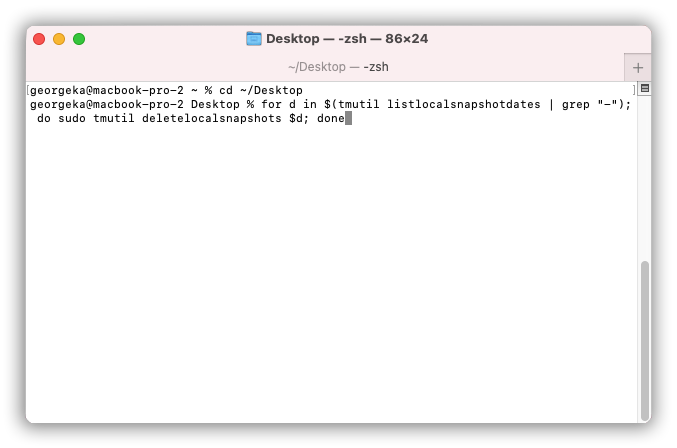
This may require an extra free space on your computer, as the to-be-created ISO file, will not replace your current CDR file. In case you are running low on space, feel free to check out my detailed guide on how to free up space on your Mac!
- Go to Finder, then Applications > Utilities and then open Terminal.
- On Terminal, type cd ~/Desktop to point Terminal to your Desktop and hit enter.
- Then, type hdiutil makehybrid -iso -joliet -o filename.iso filename.cdr where you will need to replace filename with the title of the CDR file you just created.
- Hit enter to execute the command.

This process should take a few seconds to complete. It may take a bit longer to complete if the CDR file is larger. Once it's done, the ISO file should appear on your Desktop.
Conclusion
Congratulations! You managed to convert a folder to ISO file for free and without having an external software to do this for you. While this method can work mostly for every case scenario, if you are stuck at any point, don't hesitate to leave a comment down in the comment section and I will answer as soon as possible!
In the mean time, I hope you stay safe and healthy!


Замовити:
Дисплей: