


The way iCloud works can be confusing for the average consumer. In simple terms, it tries to have every photo or video which exist on your device(s) (called syncing). So, in the background, your Mac or iPhone uploads new photos to your iCloud storage and if there are new photos on your iCloud, will be downloaded to your device.
This is only if you allowed your device to sync to your iCloud account. But, what about if you want to download your photos to your PC or Android phone?
In this guide I am going to show you how to download your iCloud photos to your Mac and on your PC and Android.
This is based on our YouTube video. If you find a step confusing, you can always refer to our video here.
You'll need
- Mac/PC with internet connection
- Apple ID email & password (For PC and Android users).
- Space available to download photos
Firstly, I am going to show you how to sync your Mac to your iCloud so automatically, all your photos to start downloading on your Photos library. This is only for Mac users.
Steps
- Go to Settings and open iCloud.
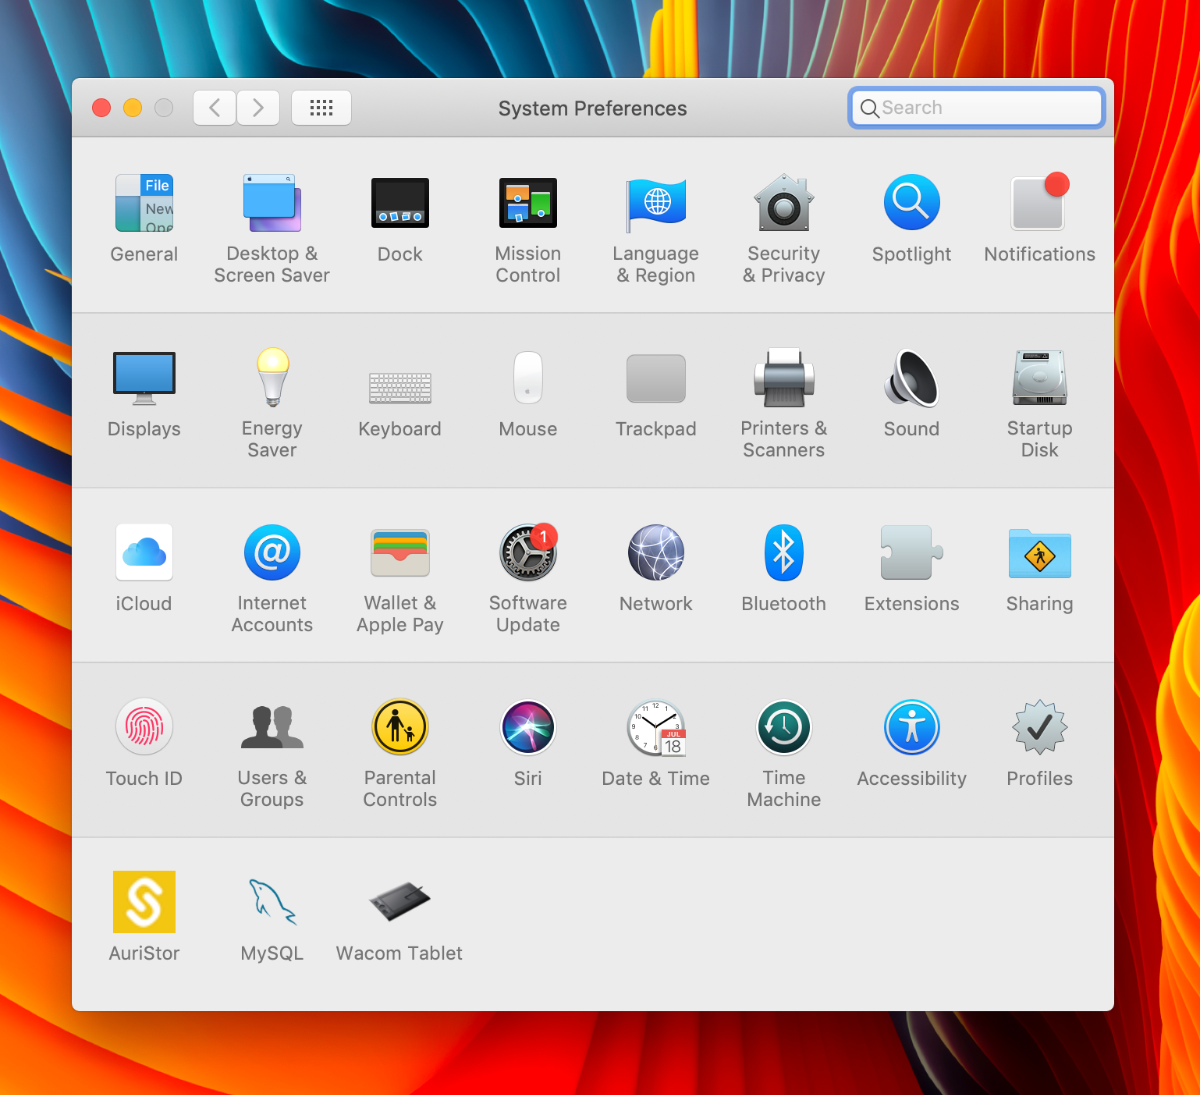
- Here you will see all the kind of files which iCloud can sync. We are interested in Photos, so click on options.
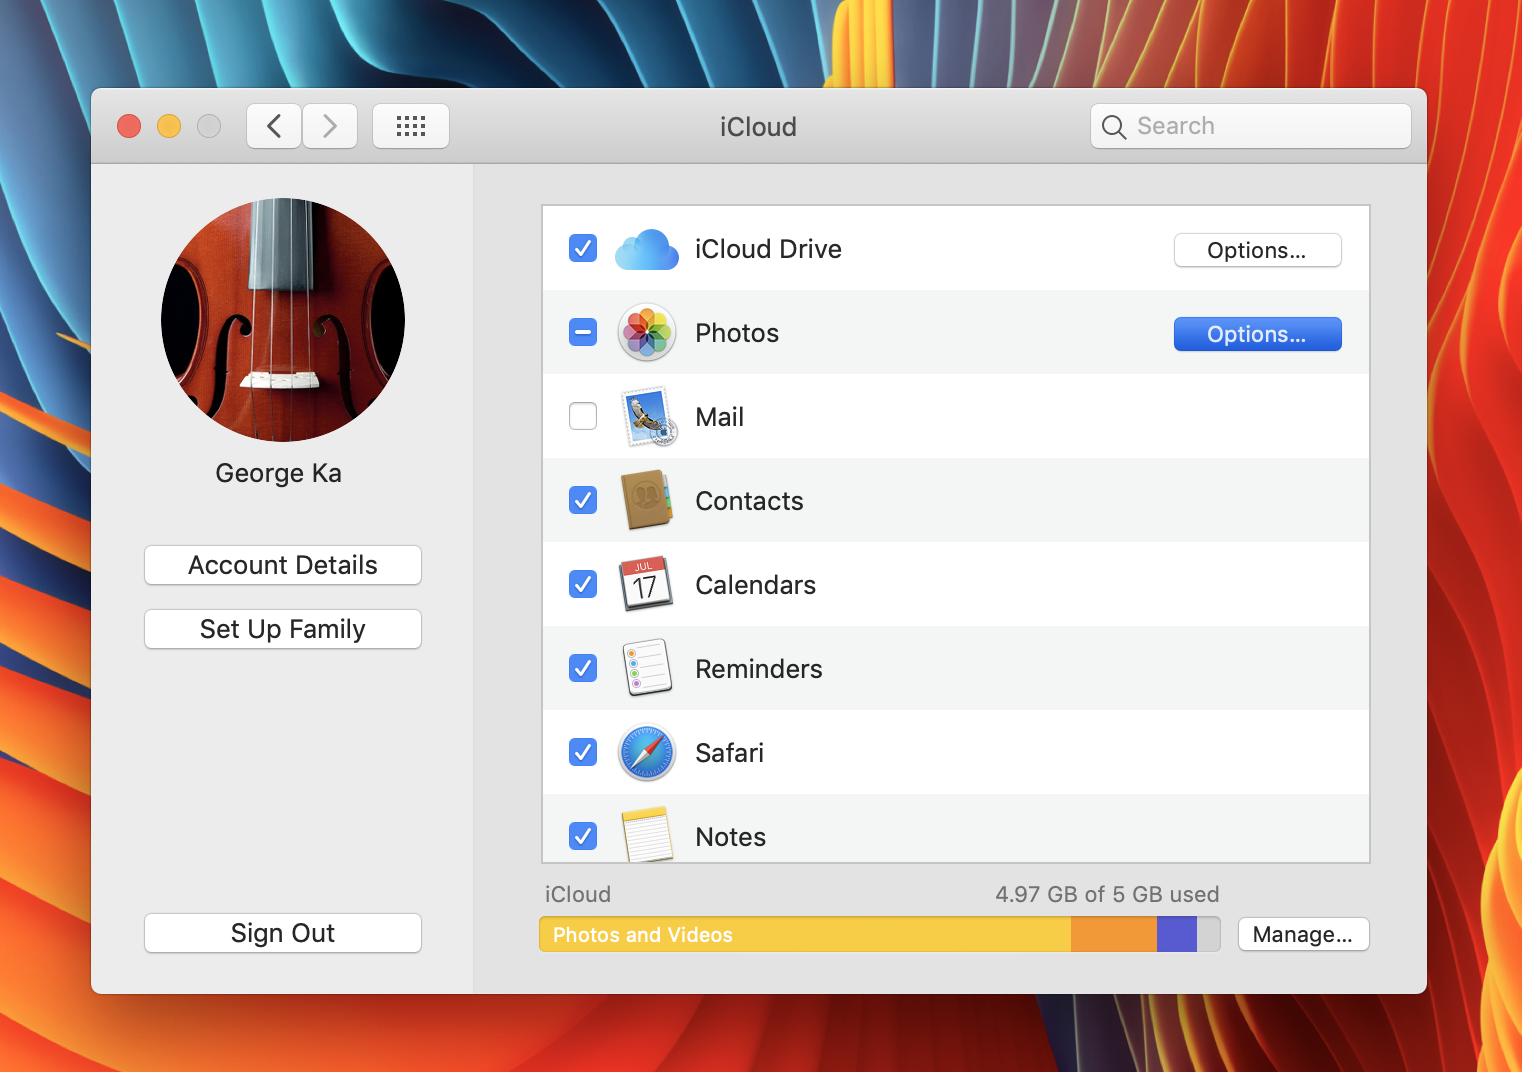
- You should see three checkboxes now. Make sure iCloud Photos is checked. Thats the top option.
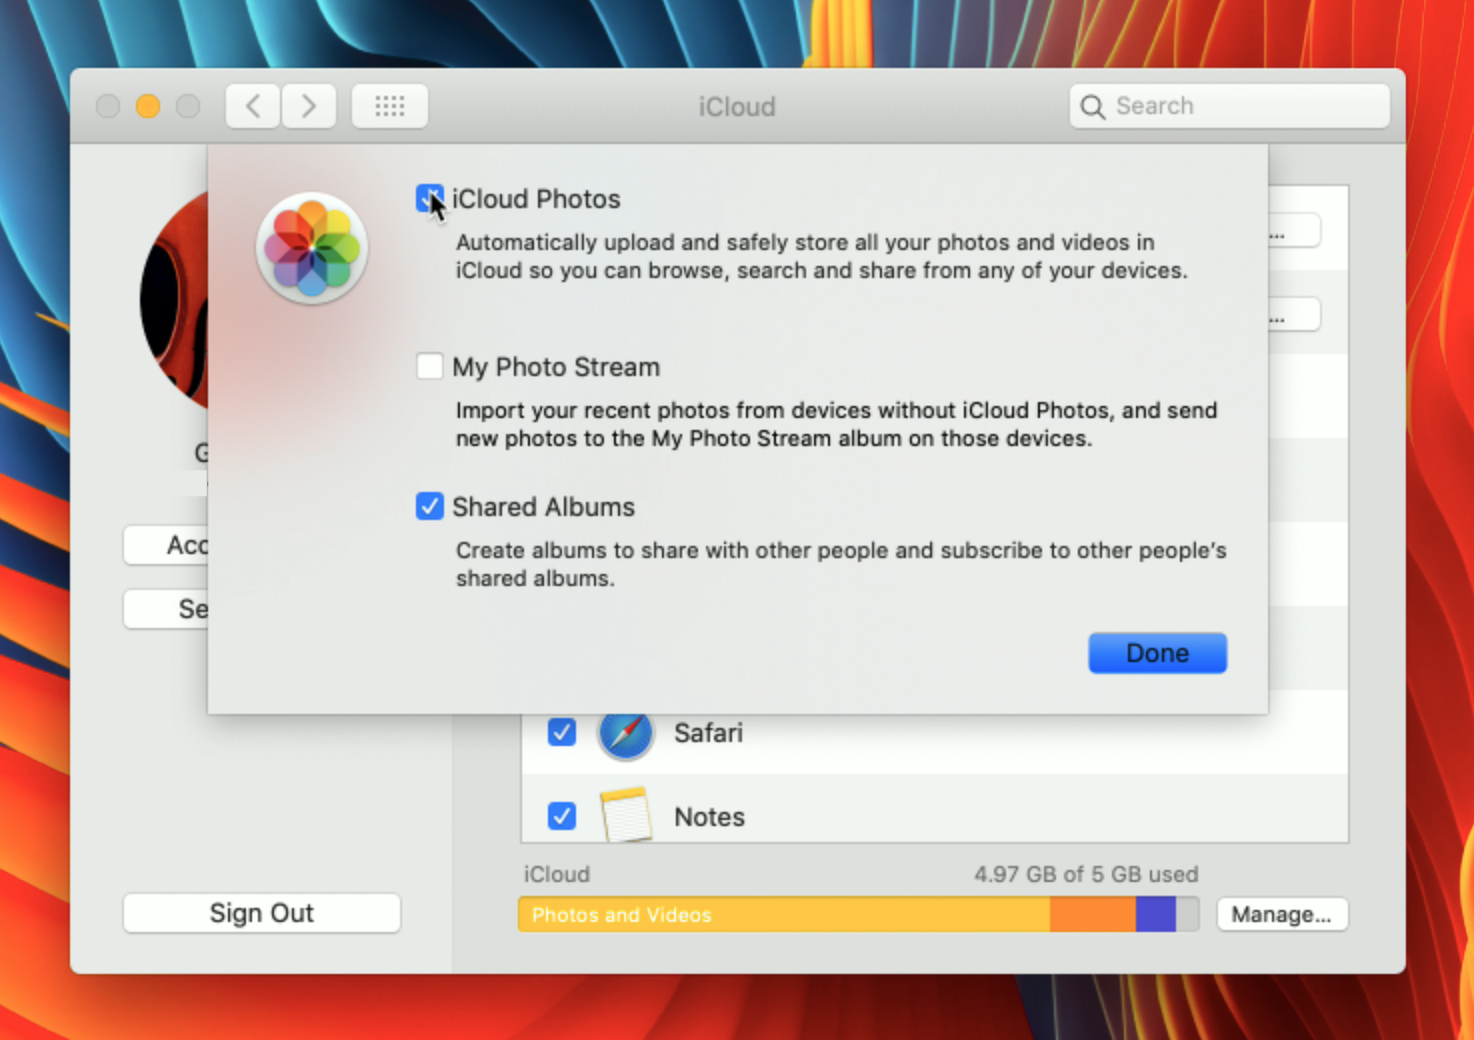
- In case you are getting the following message "iCloud Photos can only be used with one library at a time", then follow through steps 5-6. Otherwise, skip to step 7.
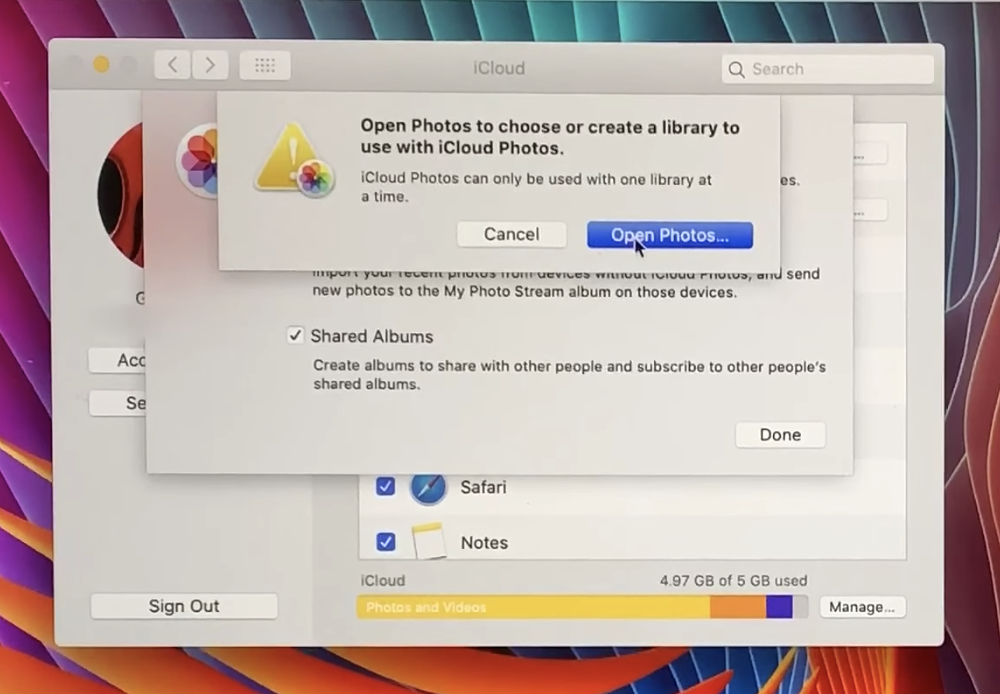
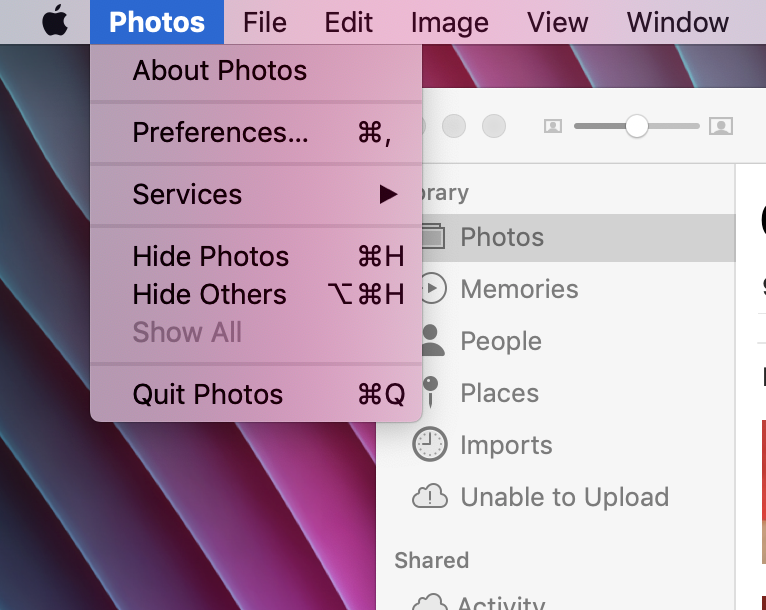
- Open Photos and navigate to preferences by the Menu on the top by going to Photos > Preferences.
- A new Window should appear. Go to General and select your library. In my case, the library is named as "System Photo Library". This is going to be the library to which photos will be synchronised with iCloud.
- Done. Now all photos from the selected library will be uploaded from there to iCloud and every other iCloud photo will be downloaded to your device. This will be happening on the background and your iCloud photos should slowly appear on your Photos app.
Great. But what if something awful happens and you lose all of your photos? This is unlikely, but Apple systems can fail unexpectedly. It's always safer to have a manual backup of your Photos in case they get lost. The following method works on every computer.
Steps
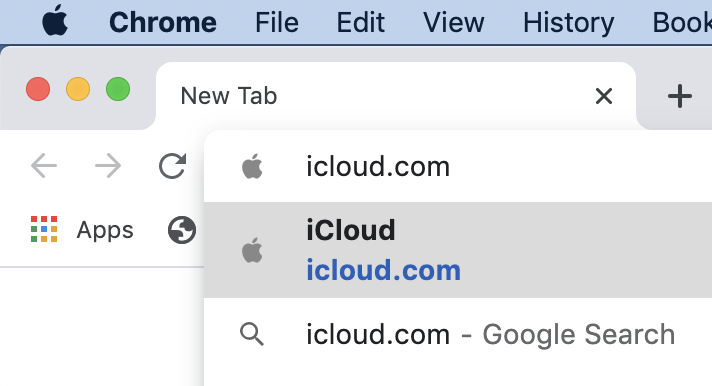
- Open your favourite browser and visit icloud.com.
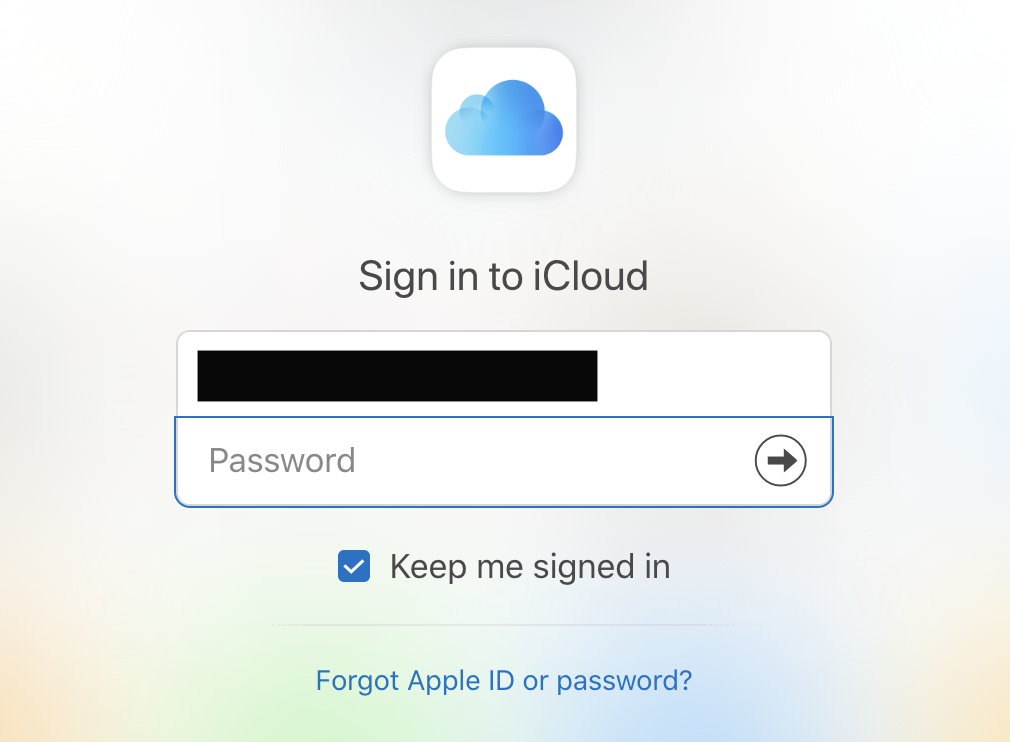
- A login screen should show up. Enter your Apple ID and Apple ID password.
- If you are logging in for the first time in this browser to your iCloud account, you will need to verify your account. If you are using a Mac, follow steps 4-5, while if you are using Windows, follow steps 6-7. If you don't need to verify yourself, go to step 10.
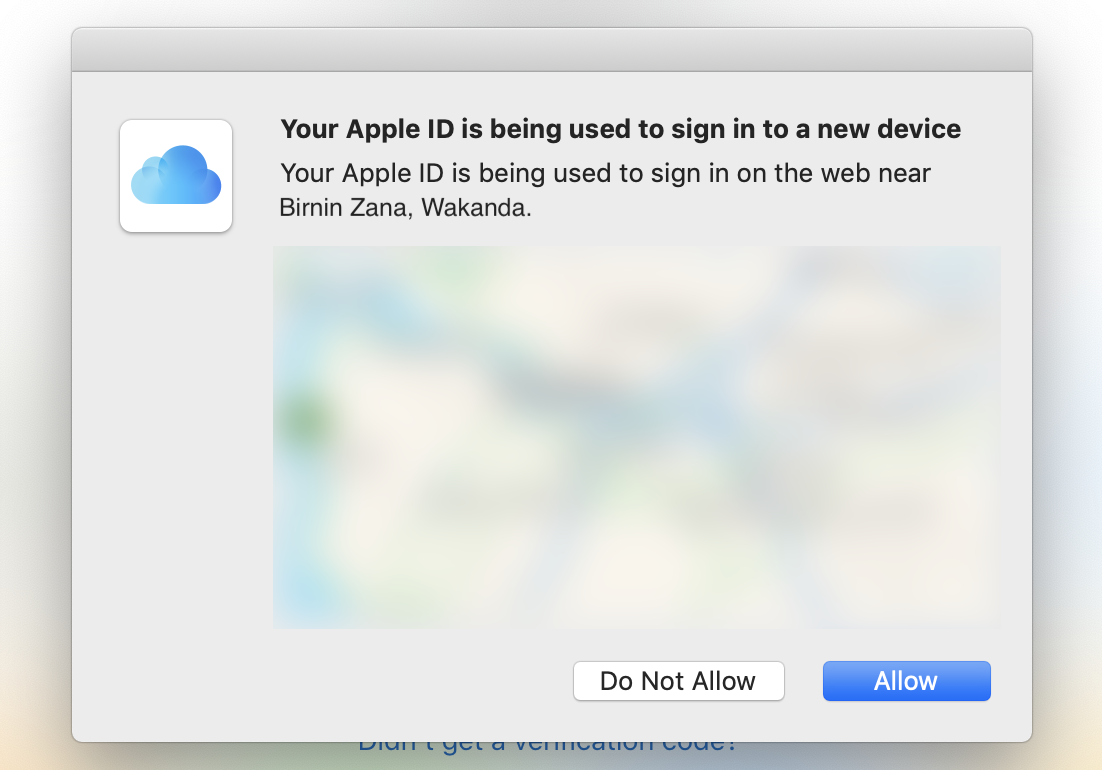
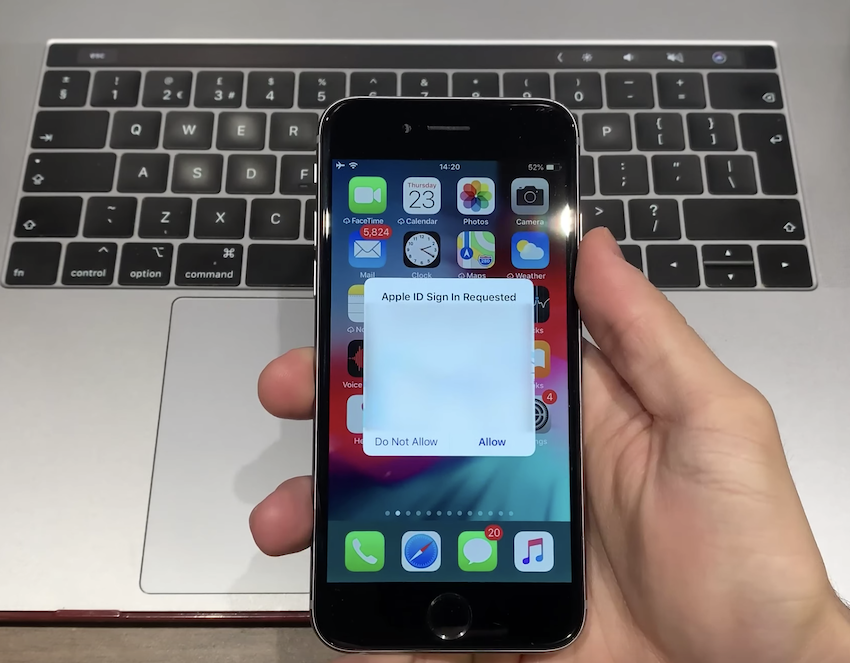
- A Window should open letting you know that someone has attempted to log in to your iCloud using your Apple ID near your area. This is you, hence click on "Allow".
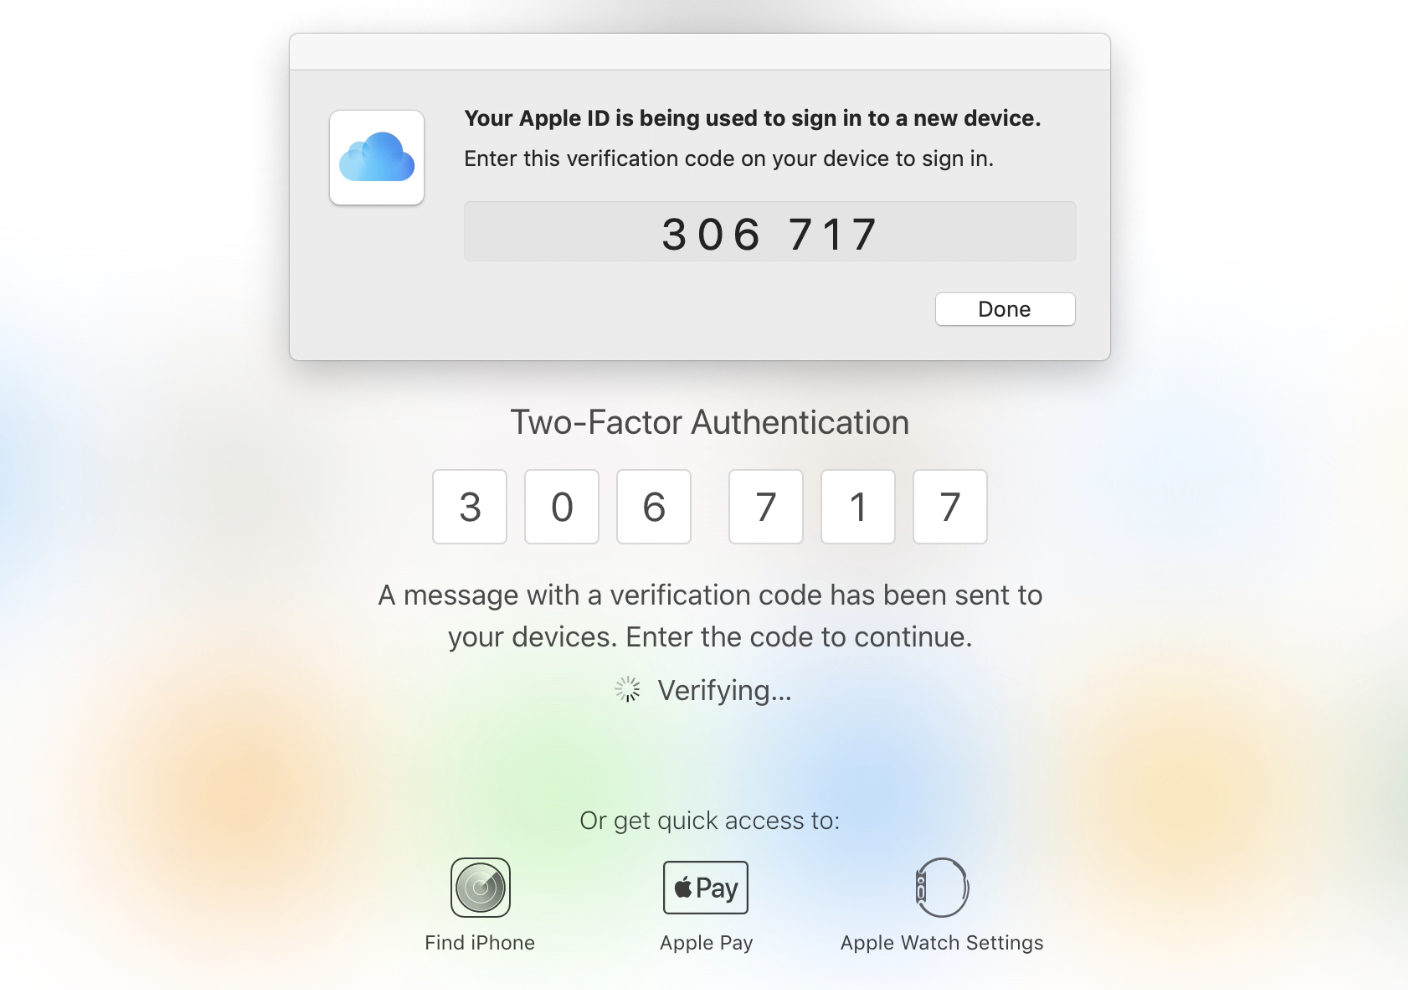
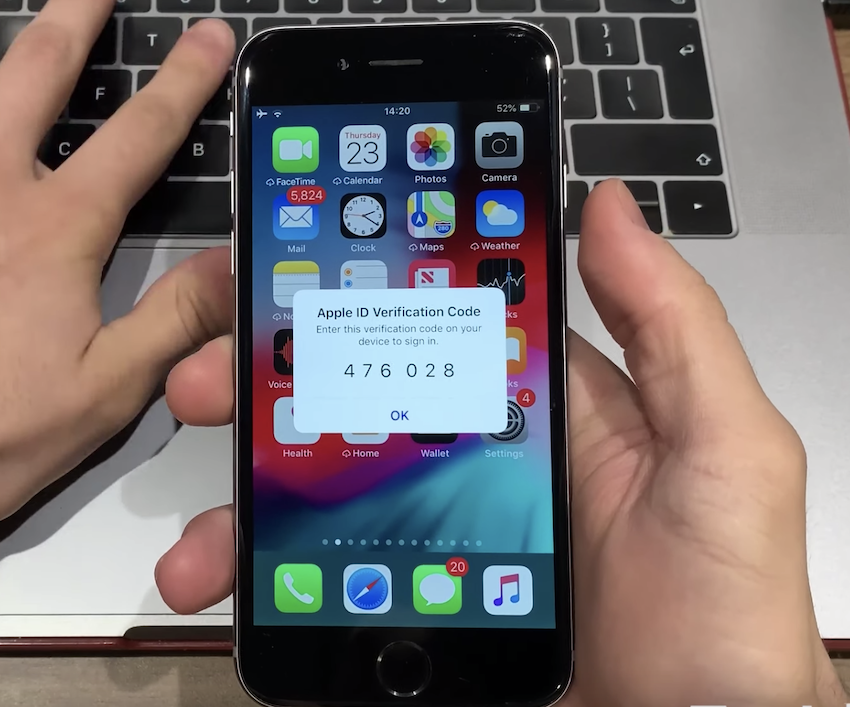
- Next, another Window will open up showing you the verification digit. Copy paste this number to the input.
- Skip to step 9. If you use a have a mac, follow steps 7-8.
- Grab your iOS device and connect it to the WiFi. The first thing you will see is a notification that someone tried to login to your iCloud account near your area. This is you. Make sure to press on "Allow".
- Another Window should open up showing the verification digit. Type it down to the input you see on your Computer Screen.
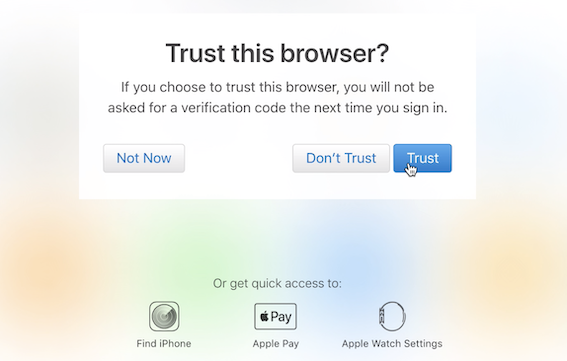
- Next up, you should see a dialog asking you whether iCloud should trust your browser. If you are using a public computer (your university computer machine or in a Cafe) choose Don't Trust, but if it's your personal machine, choose Trust. This will prevent you the need to verify yourself again the next time you login on the same browser.
- Now you should see all your photos stored in your iCloud account. From the top middle, switch from Moments to Photos.

- Then this is where the magic begins. Unfortunately, Apple only allows you to download up to 1000 photos at a time. Not sure why, but seems like Apple wants to limit their Network Bandwidth. So we are going to select the first 1000 photos to download.
- Then scroll down and repeat the process until 1000 photos have been selected. Then on top right, you should see a cloud button with an arrow pointing downwards. This is the download button. Click on it.

All of your photos will be downloaded in a zip file named as iCloud Photos.zip. Once the download has finished, open the downloaded zip file in your Finder.

- Double click on the iCloud Photos.zip file and a folder should open up.
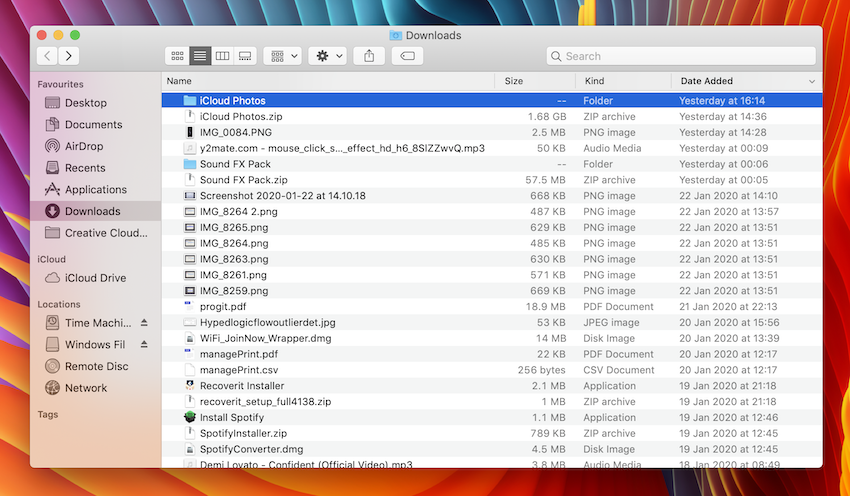
The folder contains the 1000 photos you downloaded.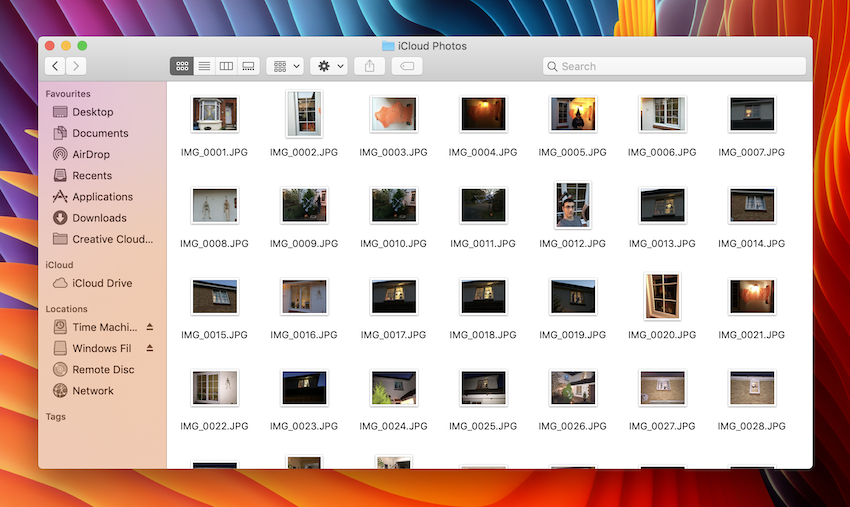
- Now go back to iCloud and select the remaining photos or the next 1000 photos to download and repeat the process from step 11. At the end, you should have multiple iCloud Photos folder downloaded. Simply drag and drop all the photos into one photos folder to have them all in one place.

That's it! Now all you iCloud photos have been downloaded successfully to your Computer.
Feel free to let me know down in the comments if you have any questions regarding this article and I will return to favour by answering them. Finally, we love feedback as much as we create this content, so feel free to let us know any possible ways we could improve!

आदेश:
प्रदर्शन: