


Upgrading the RAM on the MacBook Core Duo (or MacBook White) late 2009 and mid 2010 is fairly easy and a lot easier than previous models of both MacBook and MacBook Pro.
Despite Apple claims that MacBook late 2009 and mid 2010 support up to 4GB, but third-party claim that late 2009 supports up to 8GB and mid 2010 up to 16GB of RAM!
Source OWS
You'll need...
- Two RAM components. For 16GB, 8GB and 4GB, you'll need 8+8, 4+4 and 2+2GB respectively. Got mine 8GB from eBay for 20.99£.
- Philips Screwdriver #00. Buy it here.
- Clean hands. Be free of static electricity and move electrical devices away from working environment.
For this tutorial, I am following the guide from our YouTube video below:
Steps
- Turn off your Mac and remove any plugged-in devices to it. That includes, USB's, phones, SD cards, DVD's charging cable etc.
- Turn your Mac around and remove the cover case using your screwdriver. Un-screw the 8 screws.

- Gently remove the case. Keep in mind there are clips on the left and the right holding the case.
- Now you should see most of your MacBook's components.
From here, we need to disconnect the power source from the motherboard for safety reasons. Simply gently disconnect the battery cable form the motherboard.
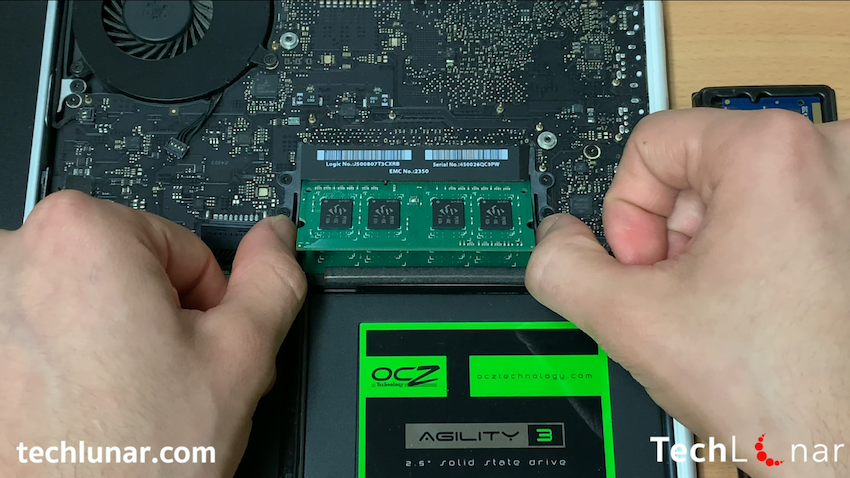
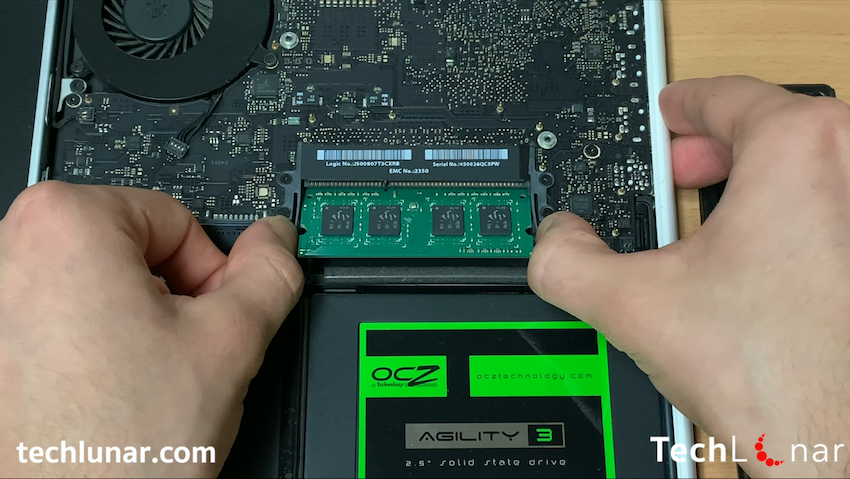
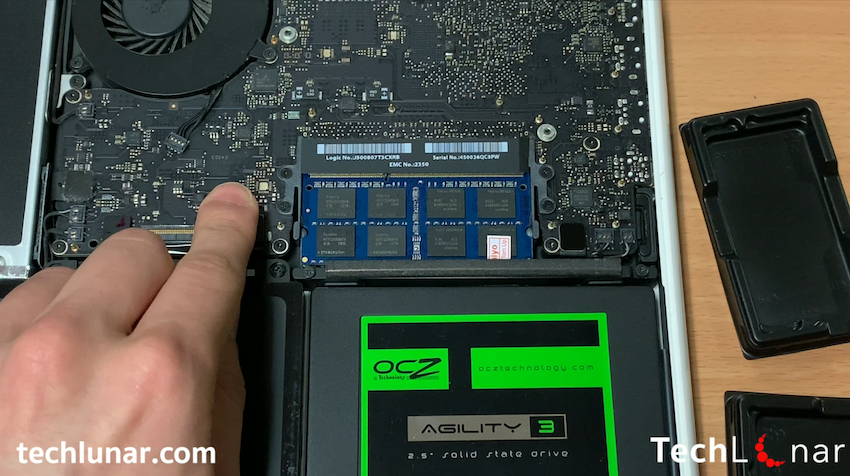
- Now we are ready to change the RAM. Pull outwards the retaining arms which keep the RAM in place.
Then take out the RAM component and put it in a safe place. - Pull outwards the retaining arms again to remove the second RAM component and put it again on a safe place.
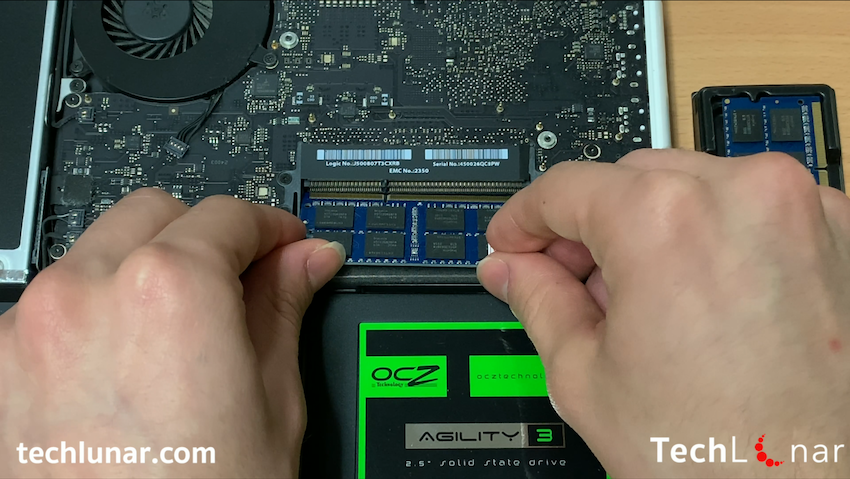
- Great. Now we need to put in the new RAM. Take one of the new RAM components and slide it in the first RAM slot.
Then push downwards...
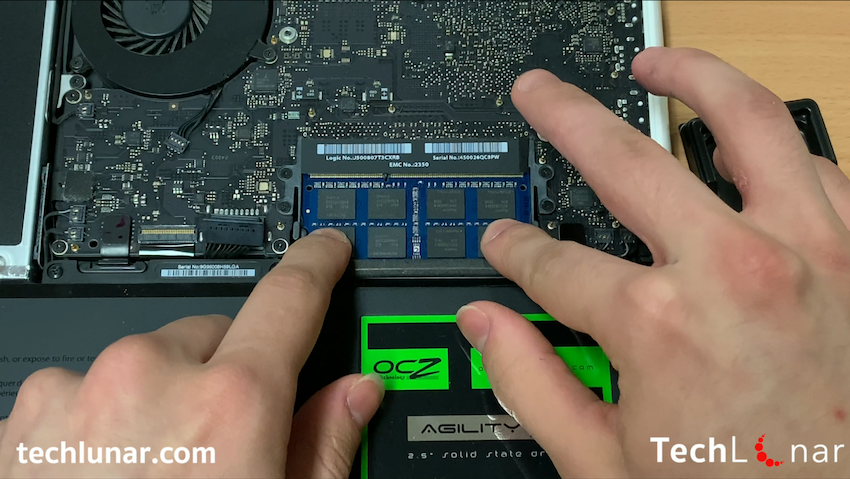
- Take the last RAM component and insert in to the last RAM slot above the previous.
Then push downwards...
- Done. Now your ram is upgraded. Now you need to reconnect the buttery supply to the motherboard. Do it with the battery cable.
- Cover up your MacBook and screw the case.
- Now we are officially done, but we need to make sure that the RAM is read by the OS (Operating System). Simply turn on your Mac, login and click on the Apple logo on the top left. Choose About This Mac (the first option).
- Now you should see the basic technical information of your Mac. You should see 8GB of Ram here, but to double check, click on the Memory section.
As you can see, the two 4GB RAM installed are recognized by our system. That means, you can now enjoy a 'faster' Mac. - Done! Most people are afraid of touching hardware of their computer, but you have just done it and even upgraded your hardware! Don't forget to share this article to your friends to tell them how easy it is to upgrade the components of your laptop!


Great. Now it's your turn! How did we do this time? Was there anything you misunderstood which can be written in a better way? Let me know down in the comments and I will make sure to apply your feedback on my next articles to come!

Sipariş:
Görüntüle: