


Did you buy a new Mac and you are looking to install a different MacOS version to it? Or you are looking to install MacOS Monterey (the latest MacOS at the time of writing this article) to an unsupported MacOS computer?
In this article, I will show you how you can easily create a Bootable USB MacOS Installer drive which you can use to install on any Mac computer.
What do I need to create a bootable USB MacOS Installer
- Your Mac Computer.
- A USB stick with at least 16GB of storage or an external hard drive.
- More than 20GB of free space on your computer.
- A USB adaptor if your Mac has only USB Type-C ports.
Of course, if you don't have a USB stick, nor an external hard drive, then you may take a look at my other detailed article where I cover a detailed guidance on how to buy an external hard drive on budget.
If you are looking to just buy a USB stick, then almost any option would do. Almost every USB stick you can find on the market would be many times more than 16GB of storage. Of course, I am listing some recommended USB sticks which I would buy at this time:
- SanDisk 128GB (USB 2.0) 11.49$ - https://amzn.to/3xjc0BV
- Samsung 32GB (USB 3.1) 9.49$ - https://amzn.to/3cFFPDf
Of course, if you decide to buy a USB stick, you will need to buy an adaptor if you Mac only has USB Type-C ports (MacBook). Here is my best recommendation for an adaptor:
- USB-C to USB (pack of 2) 9.99$ - https://amzn.to/3xfBOyW
- USB-C Hub 7 ports including 3 USB 17.99$ - https://amzn.to/3cGA5cn
On top of that, in case you ever get lost by following the steps below, I have also created a video showing you the whole process:
How to create a bootable USB MacOS Install Drive? The steps
Once you have got all the requirements down, we are ready to begin with creating the bootable USB installer disk!
1. How to download MacOS Installer
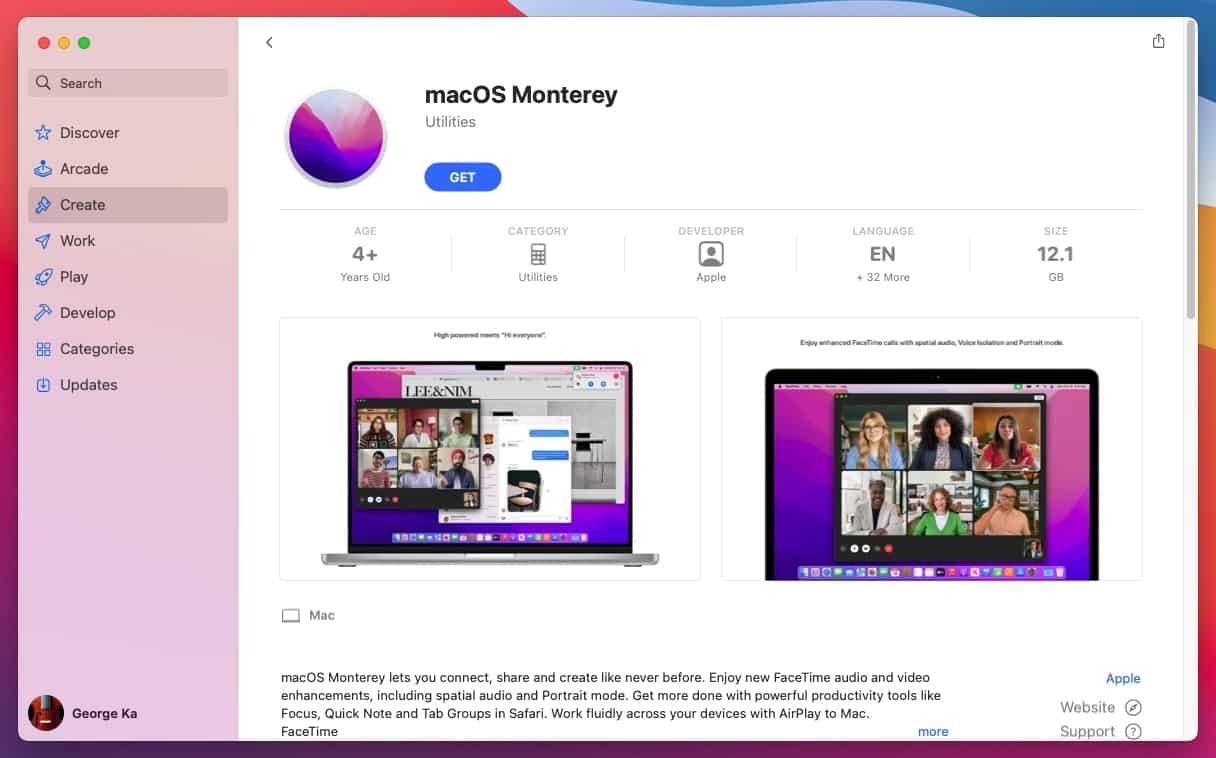
Initially, we need to download the desired MacOS version which you wish to create the bootable USB installer disk from. For the purpose of this article, we are going to use MacOS Monterey, as at the time of writing this article, is the latest major MacOS version release by Apple.
1.1 How to download MacOS installer from App Store
Below, I am listing all the links for each major MacOS version to download.
- MacOS Monterey 12 (App Store link)
- MacOS Big Sur 11 (App Store link)
- MacOS Catalina 10.15 (App Store link)
- MacOS Mojave 10.14 (App Store link)
- MacOS High Sierra 10.13 (App Store link)
- MacOS Sierra 10.12 (Download link)
- Mac OS X El Capitan 10.11 (Download link)
- Mac OS X Yosemite 10.10 (Ddownload link)
- Mac OS X Mountain Lion 10.8 (download link)
- Mac OS X Lion 10.7 (download link)
Each link will take you to the App Store and depending on your internet connection will take some time to download.
Once the MacOS installer has been downloaded, it will appear in the Applications folder and it will automatically be launched. However, we don't want to interact with the installer, so feel free to quit the window.
1.2 How to download MacOS installer via Terminal
If in any case the above links fail to download the installer you desire, there's another way to download them. Of course, this method may not work for everyone, as Apple is trying with every way to prevent you from downloading previous MacOS installer with the intention to downgrade to a previous MacOS version.
This method involves using Terminal. Don't worry! We are going to go through this step by step so you won't get confused!
- Open Finder and go to Applications > Utilities and launch Terminal.
- On terminal, copy and paste this command
sudo softwareupdate --fetch-full-installer --full-installer-version 12.0.1. - Terminal will begin downloading MacOS Monterey.
As you noticed, the above command will download MacOS Monterey. But what if you would like to download a different MacOS version?
Here is the generalized command. Notice the asterisks in the end. The asterisks will be replaced with the version number you wish to donwload:
sudo softwareupdate --fetch-full-installer --full-installer-version **.**.**
For instance, if you are looking to download MacOS Big Sur, you will use the following command:
sudo softwareupdate --fetch-full-installer --full-installer-version 11.6.1
To list all available version you can download, type the following command:
softwareupdate --fetch-full-installer

As you can see, each version number corresponds to the MacOS version you are looking to download, All you need to do, is to replace the version number from the list with the asterisks and the version will be downloaded. Each MacOS version also shows the corresponding size.
Once you pick a method to download the MacOS version, then we are ready to move on to the next step! Don't worry about the download taking too much time to download. We can move on to the next steps while the MacOS installer is still downloading to save up some time!
2. How to Format your USB stick (or your external hard drive)
As we need to copy our external storage device, we need to ensure the USB is formatted in a way that the installer will be able to be copied and so every Mac computer to understand it as a bootable device.
2.1 Clean up your external storage device
Before we format the external storage device, you need to ensure that your device is clean and there are no files within it that you need. If there are any files in it, make sure to copy them to your computer or to another hard drive, as formatting the device will remove all data from it.
- Connect your USB stick (I'll assume you are using a USB stick to create the bootable MacOS installer drive) to your computer.
- Go to finder and go to your USB stick to see all the files it contains.
- Select all and drag all the files to a safe location in your Mac computer.
- Wait until all your files have been copied to your computer.
- Delete your files from your USB stick.

If you don't have space in your computer, then instead of copying your files to your Mac computer, connect another external storage device (another USB stick, hard drive, SD card etc) and copy the files there. Of course, in case you have problems with low space on your Mac, I highly advise you to read my in-depth advice on how to free up space on your Mac permanently!
2.2 Format your external storage device
After cleaning your USB stick, we are ready to format it.
- Connect your USB stick to your Mac computer.
- Open Finder and then go to Applications > Utilities and launch Disk Utility.
- On Disk Utility, select your USB stick by clicking on it. The name of your USB stick will be listed under the External Section. For ease, I advise you to unplug any other external hard drives from your computer to make it easier to distinguish your USB stick.
- Click on Erase from the top of the window.
- Name it as you like, I will name the USB stick as "MacOS Monterey" as the Name.
- Choose MacOS Extended (Journaled) as the Format.
- Choose GUID Partition Scheme as the Scheme.
- Press on Erase.
- This process should take some time to complete. Once done, press on Done.

Now your USB stick is formatted and ready to move to the next step!
3. How to create a bootable installer for macOS.
If you download is still not finished, then you may until it's done.
For this step, we need to use the MacOS installer we downloaded to copy its contents into the USB stick. For this, we need to use the Terminal again in order to format our USB stick with the MacOS Installer.
- Go again to Finder and then go to Applications > Utilities and launch Terminal.
- If you have downloaded MacOS Monterey, copy and paste this command
sudo /Applications/Install\ macOS\ Monterey.app/Contents/Resources/createinstallmedia --volume /Volumes/MyVolume -- /Applications/Install\ macOS\ Monterey.app.

From the command above, replace MyVolume with the name of your USB stick you chose in step 2.2. Remember, if you included any spaces, then you need to type a forward slash "\" before the space. For example, I named my USB stick as "MacOS Monterey". The command I need to paste in Terminal would be sudo /Applications/Install\ macOS\ Monterey.app/Contents/Resources/createinstallmedia --volume /Volumes/MacOS\ Monterey -- /Applications/Install\ macOS\ Monterey.app.
If you have downloaded a different MacOS installer, you will need to alter the above command a bit. Below, I am listing all the commands per MacOS version corresponding to your download. Remember to change MyVolume to the corresponding name of your USB drive.
Big Sur createinstallmedia
sudo /Applications/Install\ macOS\ Big\ Sur.app/Contents/Resources/createinstallmedia --volume /Volumes/MyVolume -- /Applications/Install\ macOS\ Big\ Sur.app
Catalina createinstallmedia
sudo /Applications/Install\ macOS\ Catalina.app/Contents/Resources/createinstallmedia --volume /Volumes/MyVolume
Mojave createinstallmedia
sudo /Applications/Install\ macOS\ Mojave.app/Contents/Resources/createinstallmedia --volume /Volumes/MyVolume
High Sierra createinstallmedia
sudo /Applications/Install\ macOS\ High\ Sierra.app/Contents/Resources/createinstallmedia --volume /Volumes/MyVolume
Sierra createinstallmedia
sudo /Applications/Install\ macOS\ Sierra.app/Contents/Resources/createinstallmedia --volume /Volumes/MyVolume --applicationpath /Applications/Install\ macOS\ Sierra.app
El Capitan createinstallmedia
sudo /Applications/Install\ OS\ X\ El\ Capitan.app/Contents/Resources/createinstallmedia --volume /Volumes/MyVolume --applicationpath /Applications/Install\ OS\ X\ El\ Capitan.app
Yosemite createinstallmedia
sudo /Applications/Install\ OS\ X\ Yosemite.app/Contents/Resources/createinstallmedia --volume /Volumes/MyVolume --applicationpath /Applications/Install\ OS\ X\ Yosemite.app
Mavericks createinstallmedia
sudo /Applications/Install\ OS\ X\ Mavericks.app/Contents/Resources/createinstallmedia --volume /Volumes/MyVolume --applicationpath /Applications/Install\ OS\ X\ Mavericks.app
After you have copied and pasted the command, press enter to continue.
Eventually, Terminal will ask for your login password. Type in your password and press enter. Remember, that you wont see what you are typing so make sure you type your password correctly if it doesn't accept it.
Terminal will ask you whether you wish to continue. Type "Y" to continue.
Terminal will begin the process of erasing the disk, as you can see from the progress 0%...10%...20%...30%...40%...50%... etc.
Next, Terminal will copy the contents of the MacOS installer and you will see the same progress as 0%...10%...20%...30%...40%...50%... etc.
The whole process will take a while to complete and once it's done, it will say "Copy complete and Done". Now you are ready to safely unplug your USB stick from your computer, after you eject it by right clicking on it first.
4. How to install (or update) MacOS from USB?
Once you have created your MacOS bootable USB installer drive, you are ready to plug it in to your Mac and begin the installation process.
- Connect your USB stick to the computer.
- Turn on your computer and:
- If the computer has the M1 chip, hold down the power (on/off) button.
- Else, hold down the alt key.
- This will show the Startup Manager where all the external and internal bootable drives are connected.
- Use the left and right arrow keys to select the USB stick. Press enter to select it.
- You Mac is now in Recovery Mode.
- Click on Install MacOS and then click on Continue.
- Your Mac now should begin to install the MacOS version. Your Mac will eventually reboot.
- Follow any further instructions to continue before the installation finishes.
And that's it! Now the computer has MacOS installed into it. If you attempted to install a previous MacOS version on your Mac and you are facing problems, then you may check my other guide showing you how to downgrade your Mac to a previous MacOS version.
Conclusion
Now that you have created a bootable USB MacOS Install Drive, you can go to any MacOS and install MacOS Monterey or any other MacOS version you choose your USB stick to boot.
I made sure to write this article in a way that everyone will be able to follow it with any technical background. Of course, if there is a step that you don't fully understand or you are stuck, please, definitely leave your comment down in the comment section and I will make sure to amend the article if needed.
Finally, I enjoy writing these articles as much as hearing from your and your feedback. If you have any way where I can make these articles better and easier to understand, please do not hesitate to leave your comments down in the comment section and I will reply!
In the meantime, I hope you stay safe and healthy!

Đặt hàng:
Hiển thị: