


Backing up your Mac is essential to ensure that you do not lose your important data in case of any system failure or hardware damage. You may need to have a backup also in case you choose to buy a new Mac computer and you don't want to start from scratch again. Regardless of the case, it's essential that backing up your Mac becomes a new habit of yours in 2023!
What is Time Machine in macOS?
Mac OS X Time Machine is a built-in backup feature that allows users to make full and automated backups of their Mac system and data. It uses an external hard drive to store the backups, making incremental backups of changed files to save time and storage space. Time Machine regularly backs up data to ensure it is always up-to-date, and allows users to easily access and recover their files in case of data loss or system failure.
According to Apple Developers, as of January 2023, the latest update for time Machine was with macOS Big Sur 11.0.1 supporting APFS-formatted volumes for faster and more reliable backups.
What do you need?
- A Mac computer with Time Machine Support.
- An empty external SSD (or Hard Disk Drive) with enough storage (ideally at least double the amount of the total storage of your Mac).
- A USB-C cable (or USB) to connect the external drive to your Mac.
- Enough battery life if you're using a MacBook.
- Patience. Backup is most often a lengthy process and can take up to a few hours to complete.
Does my Mac Support Time Machine?
Your Mac will support Time machine if it runs the following Mac OS X and macOS X versions:
- Mac OS X Leopard (10.5)
- Mac OS X Snow Leopard (10.6)
- Mac OS X Lion (10.7)
- Mac OS X Mountain Lion (10.8)
- Mac OS X Mavericks (10.9)
- Mac OS X Yosemite (10.10)
- Mac OS X El Capitan (10.11)
- macOS Sierra (10.12)
- macOS High Sierra (10.13)
- macOS Mojave (10.14)
- macOS Catalina (10.15)
- macOS Big Sur (11.0)
- macOS Monterey (12.0)
- macOS Ventura (13.0)
This list may not include the latest version, but assume Time Machine will be supported if you have the latest version of macOS.
If you run an earlier version of Mac OS X than 10.5, then Time Machine is not supported and you may need to look for 3rd-part software to backup your Mac.
What formats does Time Machine support?
Time Machine supports the following formats:
- Mac OS Extended (Journaled)
- APFS (Apple File System)
- Time Capsule (Apple's network-attached storage device)
- SMB (Server Message Block) network shares.
Note: Time Machine does not support non-journaled Mac OS Extended file systems, or file systems other than the ones listed above. Additionally, Time Machine requires an HFS+ formatted external drive to perform backup, it does not support NTFS, exFAT or other file systems.
For more details, Apple explains in more details on what kind of disks it supports and which it doesn't. However, if you are just looking to keep things simple, then you shouldn't worry about any extra details.
Here is a step by step guide on how to backup macOS with Time Machine
If you are using a MacBook, I would recommend you have it connected to the charging cable to prevent your battery to run out. Depending on the external hard drive, it may take many hours to as few as 10 minutes for the backup to be completed.
Together with this guide, I have also created a video demonstration showing the entire process:
1. Connect an external hard drive
The first step is to connect an external hard drive to your Mac. This drive will be used to store the Time Machine backups. Make sure the external drive has enough storage capacity to store your backups.
Ideally, I would aim for the external hard drive to have at least 1TB of storage. If your Mac has 1TB of total storage, I would aim to get a 2TB external hard drive. If you don't have an external hard drive, here's my top recommendation list which still applies to 2023!
2. Turn on Time Machine
Open System Preferences and click on Time Machine. Click on the switch to turn Time Machine on. If this is the first time you are using Time Machine, you will be prompted to select a backup drive. Choose the external hard drive you just connected.

3. Start the initial backup
Once you have chosen the backup drive, click on Use Disk to confirm your choice and start the initial backup. This backup may take some time, depending on the amount of data you have on your Mac.

Keep in mind that if you're using a MacBook and the charger isn't connected, by default Time Machine prevents backups on battery power. If you want to change this however, you need to go click on "options" on the bottom right corner and check the "Backup while on battery power" option.

4. Automatic backups
After the initial backup is complete, Time Machine will automatically make incremental backups of your Mac data every hour while keeping your external hard drive connected to your computer. You can change the frequency of backups in Time Machine preferences if desired.

Keep in mind that when you disconnect your Time Machine Hard Drive from your computer, Time Machine won't be able to make backups any longer, until you reconnect your hard drive again.
5. Verify backups
You can verify that your backups are working correctly by going to Time Machine in System Preferences and checking the status of the backups. If there are any issues, Time Machine will alert you.

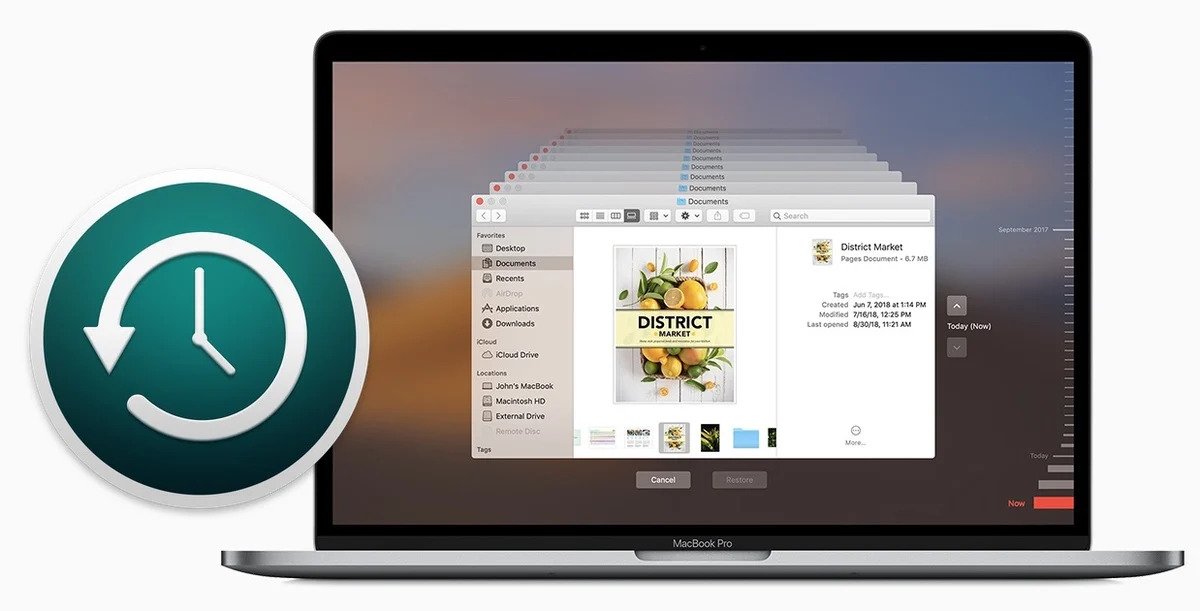
6. Restore files
Another great feature Time Machine has is the ability to look into previous version of a specific file. Thanks to the Time Machine timeline feature, you can see previous versions of the backup as a whole. Of course, this will work after multiple backups have been occurred where the previous file version would be stored.
How to restore backup files with Time Machine?
- Open Time Machine: Time Machine can either be on the menu bar on the top or from System Preferences.
- Browse Through Previous Versions: Once you're in Time Machine, you'll see a timeline of all the backups that have been made. Use the timeline to navigate to the date when the file you want to recover was backed up. You can also use the search feature to quickly find the file you're looking for.
- Restore the File: Once you've located the file you want to recover, click on it to select it. Time Machine will then show you a preview of the file so you can make sure you've got the right one. To restore the file, click the "Restore" button. Time Machine will then copy the file back to its original location on your Mac.

Keep in mind that if you have made any changes to that file after the backup, you will lose the changes and the file will be reverted back to its state at the time of the last backup. This can be the case on files such as word, excel, powerpoint and script-based documnets.
7. Backup exclusions
If there are any files or folders that you do not want to be backed up by Time Machine, you can exclude them in Time Machine preferences.
How to exclude files from Time Machine backup?
- Open System references and choose Time Machine (if it's not open already). You can also access Time Machine from the menu bar on the top.
- Click on "options" on the bottom right corner.
- Click on the plus "+" button. A file prompt will open.
- Choose the folders (directories) you don't want to backup.

Please, keep in mind that if you select a directory, all the subdirectories and files will be excluded as well.
8. Verify backup drive
It's important to regularly check your backup drive to make sure it's working properly. You can use Disk Utility to verify the backup drive's health and repair any issues if necessary.
How to check the backup hard drive health on Mac?
- Open Disk Utility: To open Disk Utility, go to the Applications folder, then Utilities, and double-click on Disk Utility.
- Select the Time Machine Drive: Once Disk Utility is open, select your Time Machine backup drive from the list of available drives.
- Verify the Backup Drive: To verify the backup drive, click on the First Aid button on the top middle of the window. Disk Utility will then check the drive for any issues and report back with the results.
- Repair any Issues: If Disk Utility finds any issues with your backup drive, it will give you the option to repair them. Simply click on the Repair button to start the repair process. If the issues are more severe, you may need to format the drive or replace it altogether.

It's important to note that SSD's and HDD's have a limited write cycles, meaning that after some years, the cells in the SSD will become unusable and unable to store and read data. Although HDD's are more durable, it's important to replace your backup drives every couple of years.
Does Time Machine backup everything?
Time Machine will backup all of your files in your computer, which it makes it possible to restore all of your files in another computer. However, it's important to take a note on the following types of files which won't be backed up.
- Files larger than 4GB on Mac OS X 10.6 and below.
- System files. These are all files coming with the macOS operating system. Other examples are system logs and other built-in apps.
- Cache and temporary files. These are files that the system is constantly creating allowing the programs to open faster and be accessed faster. This also includes spotlight indexes.
- Backup disk images.
- Disk images or virtual machine files.
- Existing Audio and video files that are already stored in the iTunes or Photos libraries.
- iCloud files. These are files that have been backed up in the iCloud. This is only the case if you have Optimize Mac Storage disabled from Storage Management.
- Mounted Volumes. These may be recent files that you have installed outside from the App Store (inc. Google Chrome) and Network volume devices connected to your mac.
- Trash Files. These are files currently on the Trash which Time Machine will ignore. This is to avoid wasting space on the backup.
- Files in External Hard Drives. Time Machine will only backup files which are stored by the internal storage of your Mac. Any files in your connected USB's, SD cards, External hard drives will not be backed up.
Keep in mind that these are files that you you won'n need regardless. The only thing I would recommend you is to look into your Trash files and see if you have accidentally moved files that you actually need in the end. If that's the case, make sure to move them out of the Trash to a desired location.
Conclusion
That's it! Time Machine makes it easy to keep your Mac data safe and secure, by regularly backing it up to an external hard drive. Make sure to follow these steps carefully to ensure that your backups are working correctly.

ترتيب:
عرض: