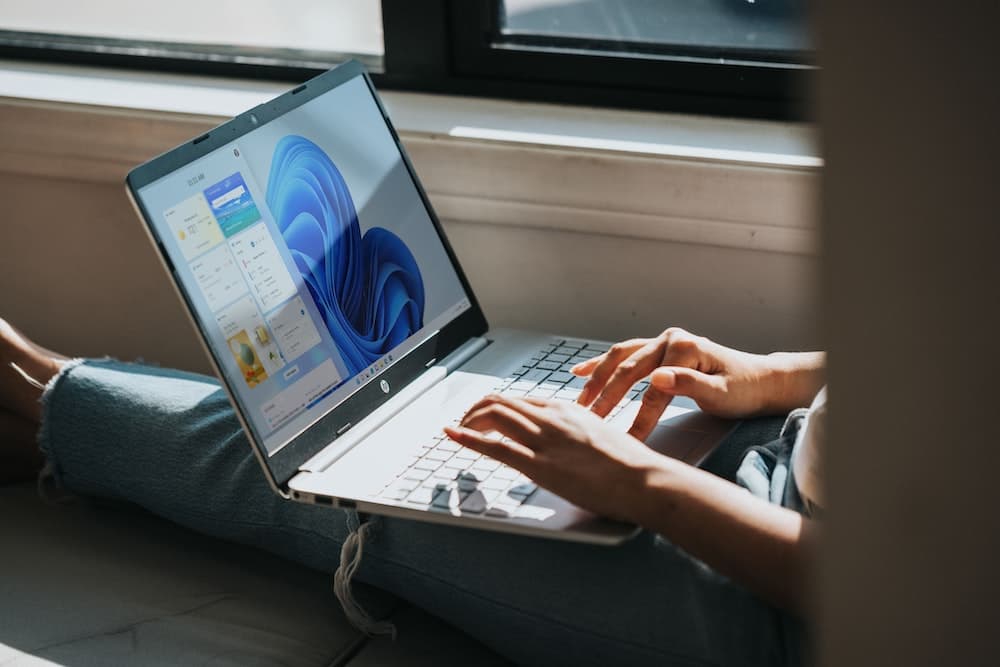
While Windows 11 is out, many people are doing the step to switch to Windows 11. Businesses are updating their offices with the new Microsoft major release and enthusiasts receive their notification to update to Windows 11.
But what if you haven't received your update notification yet? What if you are looking to install Windows 11 on another computer? In this article, I am going to show you how to create a Windows 11bootable USB installer disk which you can use to install Windows 11 on any computer you find in front of you!
What do I need to create a Windows 11 bootable USB
- Your Windows computer with Windows 7 or above.
- A USB stick with at least 16GB of storage (or an external hard drive).
- Internet connection.
While, you may not have a USB stick available lying around, I can recommend you a few ones to check up! As this article was written on Black Friday, it's very likely the products will still be on discount for a few following days after the Black Friday.
- SanDisk 128GB (USB 2.0) 11.49$ - https://amzn.to/3xjc0BV
- Samsung 32GB (USB 3.1) 9.49$ - https://amzn.to/3cFFPDf
If you however are looking to use an external hard drive and you are not sure which one to buy, then you may check out my guide which gives you every information you need to know before buying an external hard drive, as well as a few of my recommendations!
On top of that, in case you ever get lost by following the steps below, I have also created a video showing you the whole process:
How to create a Windows 11 bootable USB installer drive? The steps
Once you are ready, let's dive in and see how to easily create the Windows 11 bootable USB drive!
1. Windows 11 ISO Download
Initially, we need to download the Windows 11 ISO file which we need to create the Windows bootable USB installer.
1.1 Windows 11 minimum requirements. Should I be concerned?
Before installing or updating to Windows 11, Microsoft recommends you to use the PC Health Check app to determine whether you can run Windows 11 on your machine. Here are the Windows 11 minimum requirements, as specified by Microsoft:
- Processor: 1 gigahertz (GHz) or faster with 2 or more cores on a compatible 64-bit processor or System on a Chip (SoC).
- RAM: 4 gigabyte (GB).
- Storage: 64 GB or larger storage device.
- System firmware: UEFI, Secure Boot capable.
- TPM: Trusted Platform Module (TPM) version 2.0.
- Graphics card: Compatible with DirectX 12 or later with WDDM 2.0 driver.
- Display:High definition (720p) display that is greater than 9” diagonally, 8 bits per color channel.

Most likely you are going to meet these requirements and as Microsoft specified, you can still install Windows 11 even if you don't meet the above requirements. For example, if you have 2GB of RAM, you can still install Windows 11 on your computer, with the only difference that you wont receive security updates.
1.2 Can I run Windows 11?
To check if you can run Windows 11, you need to use the PC Health Check app. Here is how to use it:
- Download the PC Health Check app from the official Microsoft website.
- Launch the PC Health Check Setup.
- Agree with the License terms and click on Install.
- Once it's installed, click on Finish. The application will now open.
- If you need to, login or signup with your Microsoft account.
- On the Introducing Windows 11, click on Check now.
- The PC Health Check app will tell you whether you computer meets the minimum requirements.

As you can see in my case, the CPU is not supported for Windows 11. Perhaps I should look for my previous Intel CPU. For the PC Health Checker app to succeed, it must show all specs as green. If I update this computer to Windows 11, I may experience issues and incompatibility problems.
Don't be discouraged if you don't meet the system requirements. You can still follow this guide and create the Windows 11 bootable USB flash drive. The only difference would be that you may not receive the notification to update to Windows 11. I am currently writing an article showing you how to bypass the system requirements and update to Windows 11, without having to re-install it on your machine and lose your data.
1.3 How to download Windows 11?
Windows 11 can actually be downloaded for free, but you will eventually have to use your product key in order to access every feature Windows 11 offers you. Downloading Windows 11 is as easy as downloading Windows 10. Here is how to download Windows 11:
- Visit the official Microsoft Download Windows 11 page.
- Under the Download Windows 11 Disk Image (ISO) section, on Select Download, choose Windows 11
- Click on the Download button.
- Choose a language of your preference under Select the product language and press on Confirm. I picked English International.
- Click on 64-bit Windows 11. Looks like 32-bit is not yet available.
- Windows 11 now should begin to download. The ISO is about 5.2GB so it should take some time to finish.

Once the downloaded file is ready, we are ready to get our USB stick ready!
2. Creating the Windows 11 bootable USB stick
Now that we have the Windows 11 ISO file downloaded, it's time to move the contents to the USB stick and make it bootable.
2.1 How to format USB stick on Windows?
The first thing you need to do is to ensure that your computer accepts and reads your USB stick. Usually, if you purchase a new USB stuck, you will be asked to format it. Choose on Format if you do.
If you have files in your USB stick and your computer doesn't recognize it and it asks you to format it, then I highly advise you to plug your USB stick to the last computer you transferred files to it. When you do, transfer all of your files to that computer and then plug your USB stick back to your computer and format it.
If you are a Mac user and your USB stick is not recognized on your Windows PC, then this is a very common issue. The format where your USB stick is structured, is not compatible with Windows. In such a scenario, plug in your USB stick to you Mac computer and transfer all your files there. Then, unplug your USB stick and plug it back to your PC and format it.
2.2.1 Error Location not found
If you are receiving the "Error Location not found" error, then it has to do with the format of your USB which Windows cannot understand or it's not compatible with Windows. To fix this, you need to format your USB stick. Please, keep in mind that formatting it, it will destroy all files within it, so please make sure you move all of your files in it to a safe location. To format it:
- Exit the Error prompt.
- Right click on your USB drive and select Format... .
- A window will pop up. The default options should be ok, but if you have any preferences, you may adjust them according to your likings!
- Press on the Start button to format your USB stick.

Your USB now should now be formatted and ready to be used.
2.2 How to create the Windows bootable USB stick?
Most of our audience here, come from a Mac background, where creating a bootable Mac USB stick can be done with a single command in the Command Prompt (Terminal). To do the similar job on Windows, we need to use a 3rd party software to do the hard job for us! Don't worry though, I know a very stable and reliable software which can get this job done for us by tweaking a few knobs.
The 3rd party software we are going to use is called Rufus. Rufus has been around for a long time, and hence, being one of the most reliable formatting utility software out there.
- Download Rufus from the official Rufus website. Under the Download section, choose either Rufus or Rufus Portable.
- Rufus shouldn't need to be installed. It will immediately open once you double click on the downloaded .exe file.
- Connect your USB stick if you haven't.
- Rufus should recognize your USB stick. If not, then under Device, select your USB stick. *
- Under Boot Selection, select your Windows 11 ISO. If you can't find it, drag and drop it from the Downloads folder.
- Under the partition Scheme choose:
- GPT, if Windows 11 is to be installed on a relative new machine.
- MBR, if Windows 11 is to be installed on an old machine.
In the worst case scenario, if Windows 11 doesn't install in your target computer, then you may re-create the USB installer drive with the other Partition Scheme option. Be sure to note down which Scheme option you have used.
- Under Target System, leave it as it is (should be UEFI (non CSM)).
- Going now to the Format Options, under the Volume label, type in "Windows 11 Installer", or any other title of your own preference.
- Under the File System, leave it as NTFS.
* You can recognize your USB stick by the letters (e.g D, E, F) if you have multiple options. If unsure, go to This PC and your USB drive should show up there. If still unsure, disconnect (eject it first) and re-connect your USB stick and see what letter is used to identify it. To prevent any further confusion, disconnect all external storage devises from your computer and keep only your USB connected.

Once ready, press on the Start button to begin the process. After a few minutes, you should have created a Windows 11 bootable USB installer drive!
3. Final Comments
Now with your Windows 11 bootable USB drive ready, you can go and install Windows 11 on every machine you can find. Remember to do check if it can support Windows 11 without problems via the PC Health Checker app.
On top of that, remember to disable Secure Boot if you haven't on the target PC machine. This is to get the BIOS to recognize your Windows bootable USB drive. From there, you may begin installing Windows 11 by following the installation instructions.
Conclusion
Now you are all set! You have created your bootable USB drive with Windows 11. If you however looking to install Windows 11 on your machine, please remember that doing so, it will remove all of your data, but I hope this method has helped you get your USB ready to install Windows 11 either as dual boot on your machine, or to a different computer.
Finally, I wanna hear from you. Did you manage to get your bootable USB drive working? If yes, how did you find this article and what can I improve? Please, let me know down in the comment section and I will reply to your comment ASAP.
I hope you stay safe and healthy!


Order:
Display: